Quick-start checklist: Get your holiday lights up safely and fast
If you’re a busy homeowner who wants a safe, beautiful display without burning through every weekend in November, start here. This checklist walks you through the essentials in order so you can move from planning to hanging lights with confidence.
- Two weeks before installation: Pull out last year’s holiday lights from the box or storage space. Inspect every light strand for frayed wires, damaged plugs or cracked sockets before hanging. Test holiday lights before installation so you catch problems indoors, not on the roof.
- Sketch your display: Walk all sides of your house and note rooflines, porches, windows, railings, trees and shrubs you want to decorate. This prevents guesswork and helps you figure out how many light strings you actually need.
- Buy missing supplies: Before you begin, gather outdoor-rated LED holiday lights and extension cords, weather-resistant timers or smart plugs, a properly rated ladder and appropriate clips or hooks. Make sure you have access to a GFCI-protected outlet. Choose electrical products listed or certified by a recognized testing laboratory and follow the manufacturer’s instructions.
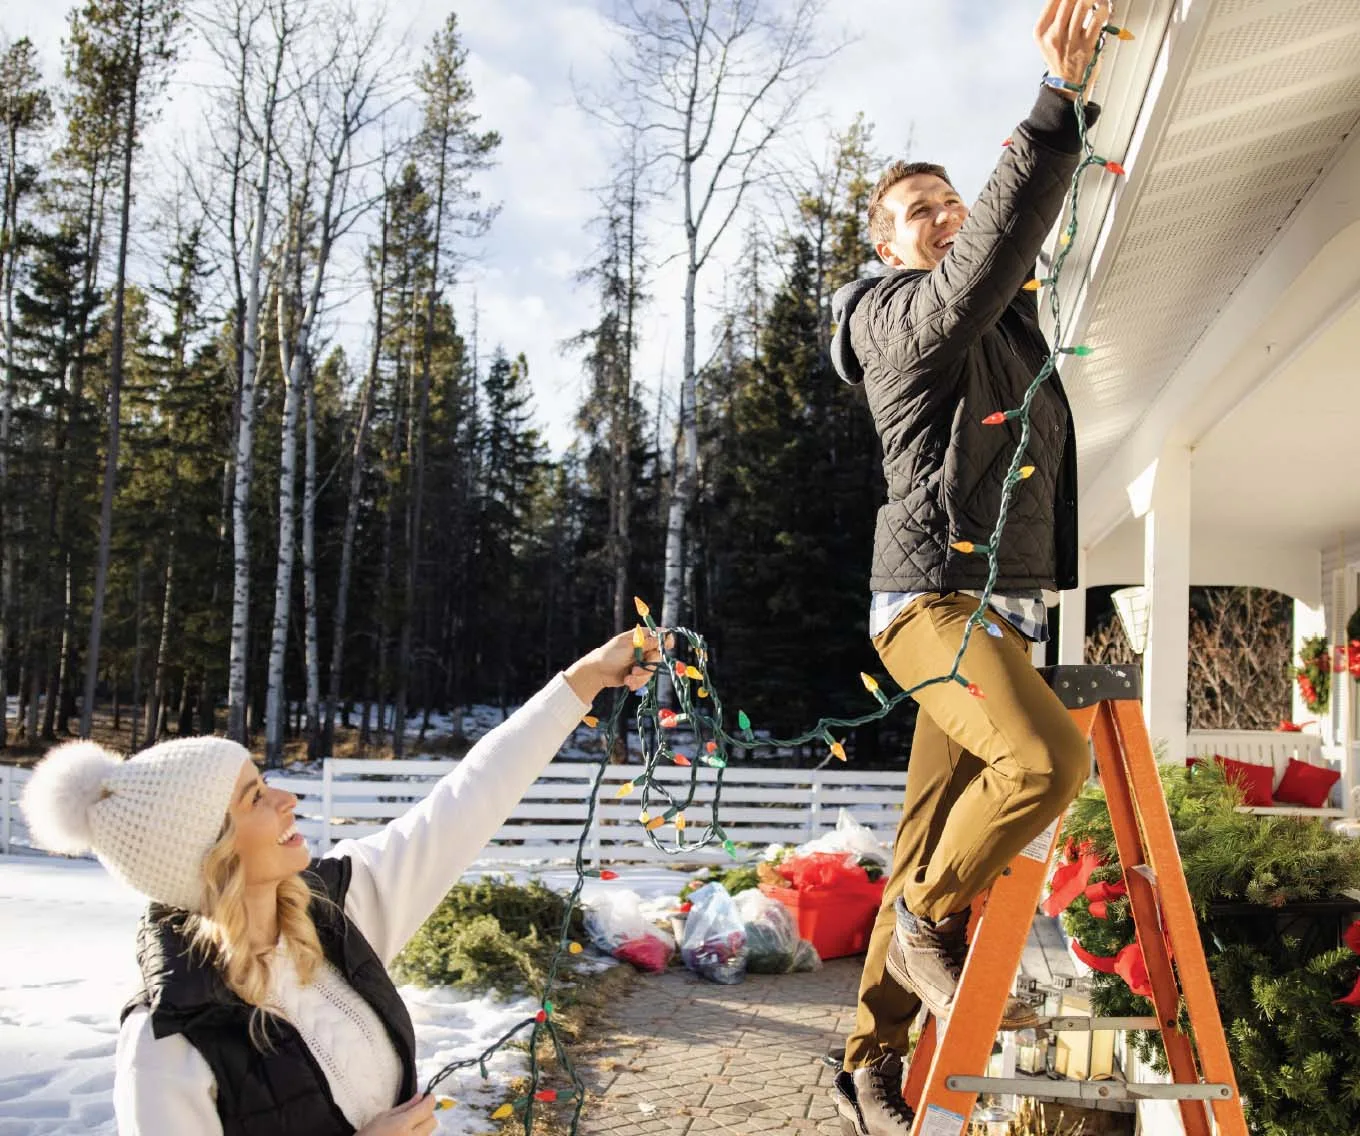
- Schedule outdoor work during daylight: Pick a dry day with good visibility. Avoid working from a ladder or on elevated surfaces during ice, snow, rain or high winds.
- Plan teardown and storage: Choose a weekend soon after the holidays to take down and properly store your lights, helping protect them from unnecessary winter exposure.
Understanding Christmas light types: LEDs, incandescent bulbs and smart systems
Doing a little homework on light types before you shop can save money and frustration. Differences in energy use, heat output, features, and expected lifespan can make one option better suited to your holiday display than another.
-
Incandescent Christmas lights
Incandescent bulbs use a heated filament to produce their familiar warm glow. They’ve been a traditional choice for holiday decorating for decades, but they typically use more electricity and generate more heat than comparable LED options.
-
LED Christmas lights
LED lights are an energy-efficient option for most homeowners. LED lights can use substantially less electricity than traditional incandescent bulbs, generally last longer, and produce much less heat during operation.
That can make LEDs a practical choice for homeowners who run holiday displays for several hours each night throughout the season. Actual energy use and operating costs vary based on the number and type of lights, wattage, hours of use and local electricity rates.
-
Smart LED and permanent lighting systems
Smart LED and permanent track systems take things further. These app-controlled setups can mount in low-profile channels along eaves and support programmable patterns, multiple colors and year-round use for different holidays or events.
They typically cost more upfront but can eliminate the annual cycle of installing and removing traditional light strings.
When you choose Christmas lights, consider brightness, color temperature, connectable length, indoor versus outdoor ratings, control options and warranty terms. Keep receipts and manuals with your home documents so you can reference specifications or find compatible replacements later.
Designing your holiday lights plan: Style, scale and budget
Planning your display ties together safety, curb appeal and cost control. A thoughtful design can complement your home’s architecture and landscaping while helping you avoid buying more lights and equipment than you need.
Before installation, walk your property at dusk with a notepad or phone. Mark key features such as:
- Rooflines
- Porch and front door
- Windows
- Paths and walkways
- Railings
- Major trees and shrubs
- Available outdoor power outlets
- Areas where ladder access may be necessary
Plan your display scale based on your property size and the areas you actually want to highlight.
Choose a holiday lighting style
Classic: Warm white lights along the roofline, a wreath on the door and simple garland
Colorful: Multicolor string lights on bushes and trees for a fun, playful feel
Themed: A coordinated color scheme such as blue and white for a winter look or candy-cane red and white for something bolder
Create a budget before starting your holiday display. Costs can vary significantly based on the size of the property, number and type of lights, installation complexity and whether you’re purchasing reusable equipment or a permanent lighting system.
Decide early whether you’ll handle installing Christmas lights yourself or hire help. Factor in time, equipment, accessibility and safety — not just the cost of materials.
Choosing colors and effects for a festive, flexible display
Color choices and effects set the mood for your holiday lights and can connect your home to neighborhood traditions or create a more modern look.
Common color schemes include:
- Traditional red and green
- Warm white with gold accents
- Cool white with blue for a winter-inspired look
- Single-color displays
- Multicolor or rainbow displays
Smart LED systems can make it easy to switch color themes throughout the year. You might use red, white and blue for July Fourth, orange and purple for Halloween, or team colors during sporting events. This flexibility can add functionality beyond the traditional holiday season.
For effects, subtle options such as steady-on or gentle twinkle can work well on rooflines and exterior trim. Bolder patterns — including chasing, fading or music-synchronized displays — may be better suited to trees and yard features.
Be mindful of neighbors and any local rules or HOA requirements related to brightness, noise, display hours or exterior decorations.
One practical design tip is to use a consistent color temperature across visible areas. Mixing warm white and cool white — especially when combining new and older strings — can create a mismatched appearance.
Holiday light safety: Power, ladders, hooks and weather considerations
Safety should be a priority whenever you’re working with electricity, ladders, roofs or winter weather.
-
Electrical safety basics
- Use outdoor lights, extension cords and electrical accessories that are specifically rated for outdoor use.
- Choose products that are listed or certified by a recognized testing laboratory.
- Plug outdoor decorations into GFCI-protected outlets.
- Follow the manufacturer’s instructions for the maximum number of light strands that can be connected.
- Avoid overloading electrical outlets and circuits.
- Keep electrical connections away from standing water and other areas where moisture may collect.
- Use purpose-made clips or hooks rather than staples or nails to secure light strands. Staples and nails can damage wire insulation and create an electrical or fire hazard.
- Never run electrical cords through doors or windows where the insulation can be pinched or damaged.
- Turn holiday lights off when going to bed or leaving home unless the product’s manufacturer specifically provides different operating guidance.
-
Ladder safety
- Set ladders on level, firm ground.
- Use a ladder appropriate for the job and follow its weight and use ratings.
- Maintain three points of contact while climbing.
- Never lean excessively to one side. Climb down and reposition the ladder instead.
- Don’t use ladders during high winds, rain, snow or icy conditions.
- Avoid attempting work that requires reaching areas you cannot safely access.
-
Weather considerations
Choose lights, extension cords, clips, hooks and other equipment designed for the outdoor temperatures and conditions in your climate.
In sunny or exposed areas, look for products designed to withstand outdoor UV exposure and weather. After severe storms, inspect your display for damaged wires, loose clips or shifted equipment before turning everything back on.
DIY vs. professional holiday light installation
The choice between doing it yourself and hiring a professional comes down to your home’s layout, your comfort level, the complexity of the display and how much time you can spare.
-
Reasons to DIY
DIY installation may make sense when:
- You have a single-story home with simple, accessible rooflines
- You own the appropriate equipment and a properly rated ladder
- You want control over the details of your display
- Most areas can be decorated safely from the ground or with minimal ladder use
-
Reasons to hire a professional
Professional installation may be worth considering for:
- Two- or three-story homes
- Steep or complex rooflines
- Very large displays
- Synchronized displays requiring more complicated wire management
- Areas that are difficult to access safely
- Homeowners with limited time or physical limitations
A professional may also be able to provide a more polished installation while reducing the amount of elevated work you need to perform yourself.
-
What to ask a holiday light installer
Before hiring someone, consider asking for:
- Proof of appropriate insurance
- References or photos from recent installations
- A written estimate
- Details about installation and removal
- Information about storage services, if offered
- Clarification about who owns the lights and other materials
- Confirmation that the installation will follow applicable codes, manufacturer instructions and HOA requirements
Some homeowners bundle holiday light installation with other seasonal services, such as gutter cleaning or exterior maintenance.
Smart controls and outdoor power: Timers, remotes and outlets
Good controls make holiday lights easier to manage throughout the season and can help reduce unnecessary electricity use.
-
Plug-in timers
Dusk-to-dawn sensors and programmable timers can automatically turn your holiday lights on and off. Choose a schedule that fits your household and neighborhood rather than leaving lights running throughout the night.
Timers can also make it easier to consistently turn displays off when they’re not needed.
-
Smart plugs and remotes
Wi-Fi or Bluetooth smart plugs can let you switch holiday lights on and off from a phone app or compatible voice assistant. Outdoor remote controls provide another way to manage lights without going outside.
Any plug, timer or smart device used outdoors should be specifically rated for outdoor use and installed according to the manufacturer’s instructions.
-
Adding outdoor outlets
Strategically located outdoor outlets can reduce the need for long extension cords crossing yards, driveways and walkways, reducing trip hazards.
New outdoor receptacles should be installed in accordance with applicable electrical codes. Consider working with a qualified electrician when adding or modifying permanent electrical service.
Permanent outdoor power can support holiday lights as well as other exterior features such as landscape lighting or security equipment.
How to install holiday lights on roofs, gutters, trees, shrubs and other spaces
Planning your installation before you start can make the process faster and safer.
-
1
Measure and plan before climbing
Use a tape measure to map the areas you plan to decorate. Estimate how many light strings and clips or hooks you’ll need, and stage your materials before starting.
You can organize materials by area — for example, one container or box for the garage roofline and another for the front porch.
-
2
Use appropriate clips, hooks and fasteners
Use clips specifically designed for gutters, shingles, fascia or other exterior surfaces, and follow the product and surface manufacturer’s instructions.
Avoid drilling, stapling, nailing or otherwise penetrating roofing materials or electrical wires simply to attach holiday lights.
-
3
Wrap trees and shrubs
Start near the trunk and work outward when wrapping larger trees. Net lights can provide quick, even coverage on bushes and shrubs.
For taller branches, consider using extension poles or other tools designed to install lights from the ground rather than climbing when conditions are unsafe.
-
4
Test as you go
Test each light string or bulb on the ground before installation. Retest sections after hanging them so you can catch connection problems before the entire display is complete.
-
5
Document your setup
Photograph or write down where each light set is used. For example:
- Garage roofline — 3 strands warm white LED
- Front shrubs — 2 net lights
- Porch railing — 2 multicolor strands
This can make next year’s setup faster and simplify storage.
Maintaining and troubleshooting holiday lights during the season
A quick periodic check can help you catch problems caused by weather, animals, foot traffic, or normal wear.
-
Check the display regularly
Inspect outdoor lights periodically for:
- Damaged wires
- Loose connections
- Sagging sections
- Loose or missing clips or hooks
- Damaged plugs
- Sections that stopped working
Pay particular attention after wind, snow, ice or other severe weather.
-
Troubleshooting older light strings
For incandescent strings, troubleshooting may include replacing individual bulbs or checking the fuse in the plug, depending on the manufacturer’s instructions.
If a section stops working, testing components one at a time can help identify whether the problem is with the light strand, extension cord, outlet or another connection.
-
Troubleshooting LED Christmas lights
LED Christmas lights can experience failed bulbs or components, connection problems, moisture intrusion or damage to wiring.
If a strand is damaged, follow the manufacturer’s troubleshooting instructions rather than attempting electrical repairs that the product isn’t designed to support.
-
During severe weather
Consider turning outdoor displays off during severe weather, including ice storms or very high winds. Once conditions improve, inspect the display for damage before turning it back on.
Keep product specifications, model numbers and packaging when practical. That information can make it easier to find compatible replacement lights or components in future seasons.
Taking holiday lights down and storing them for next year
Proper removal and storage can help your lights and decorations last through multiple holiday seasons.
-
Safe holiday light removal
- Work during daylight on dry, stable surfaces.
- Disconnect power before removing light strands.
- Reverse the installation process carefully.
- Avoid pulling or yanking strings from gutters, shingles, trees or siding.
- Inspect lights for damage as you remove them.
-
How to store Christmas lights without tangles
Several simple storage methods can keep light strings organized:
- Wrap strands around a purpose-made light reel or a portable hose reel.
- Use cardboard spools for individual strands.
- Store lights in labeled containers, bags or boxes.
- Wrap lights around dowels or organizers inside a storage bin or stand.
- Label each strand based on where it’s used.
Test strands before storing them so damaged sets can be repaired or replaced before the next decorating season.
Store holiday lights in a dry location and follow manufacturer recommendations regarding storage temperatures and conditions.
Planning home improvements beyond the holidays
Holiday decorating can sometimes highlight exterior improvements you may want to tackle later, from adding permanent outdoor outlets to installing exterior lighting or completing repairs.
Projects such as permanent soffit lighting, electrical upgrades, landscape lighting or exterior repairs require different levels of planning and budgeting. Before starting a larger project, consider the total cost, ongoing maintenance, professional installation requirements and how the improvement fits into your broader homeownership goals.
Depending on the project and your financial situation, financing options such as a home equity line of credit or renovation loan may be available to help finance eligible home improvements. Loan availability, terms, eligibility and permitted uses vary by product and borrower.
RELATED: HELOC for Home Improvement
A licensed loan officer at CrossCountry Mortgage can help you explore available financing options and understand applicable requirements.
Check out our recent blog posts on homeownership, maintenance and renovation planning. When you’re ready to look at financing options, connect with a loan officer to discuss your goals and determine what may be available for your situation.